 Save to Pinterest
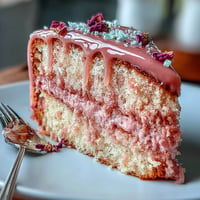
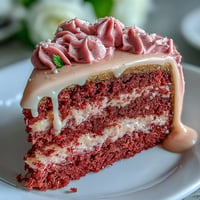
 Some cakes arrive as quiet guests, but the first time I made this blush-pink Rosé Velvet Cake for a friend&rsquos bridal shower, it basically twirled into the room. The frosting had just the faintest hint of wine, and the brush of gold luster on the drip was as fun to sneak onto the cake as it was to showcase. Nothing quite prepares you for the moment the scent of vanilla, butter, and rosé fill the kitchen&mdashit’s equal parts party and poetry. It quickly turned from a recipe I was trialing into a little pink centerpiece everyone wanted to talk about. If ever a cake claimed its own celebration, this is the one.
I remember laughing through the decorating with my friend, music turned up, both of us carefully drip-dropping the gold paint on the cake while sipping the tiniest leftover splash of rosé. It was one of those afternoons where nothing went as strictly scheduled but the cake ended up even prettier than the mood board. Even my little offset spatula mishap (a minor icing avalanche, quickly scooped and patched) became a running joke until the very last crumb disappeared. There&rsquos something magical about creating a centerpiece together, especially when hands and hearts are equally involved. It made the cake sweeter in every sense.
Ingredients
- All-purpose flour: Measured with care and sifted for a tender, picture-perfect crumb every time.
- Granulated sugar: The base of sweetness; I always cream it well with butter for an airy texture.
- Baking soda and baking powder: Just the right mix to help the cake rise tall and even—don’t skimp or scoop too hastily.
- Salt: A pinch brightens the flavors, and the difference is more noticeable than you’d think.
- Unsweetened cocoa powder: Just enough for subtle depth without anything overtly chocolatey.
- Unsalted butter: Room temperature is essential—cold butter leads to lumpy batter, and no one wants that.
- Buttermilk: The not-so-secret ingredient for rich, moist layers; let it lose its chill on the counter first.
- Rosé wine: Adds elegance and flavor without overpowering—just give it a taste before pouring it in.
- Large eggs: Room temperature helps everything blend seamlessly—I crack them into a bowl first to avoid shell mishaps.
- Vanilla extract: The support act that makes the rosé and cocoa shine.
- White vinegar: Reacts with baking soda for fluffy layers; yes, it works and no, you won’t taste it.
- Pink food coloring gel: Gel is better for even color and less mess; I add it drop by cautious drop.
- Cream cheese: For the frosting, softened is key to avoid lumps.
- Powdered sugar: Sift it or risk that dreaded frosting grit.
- Edible gold luster dust and vodka or clear extract: Use a little to mix your edible paint for a regal finish.
- White chocolate chips and heavy cream: These make the smooth drip—be patient as it cools to the right consistency.
- Salt (for frosting): Just a pinch in the frosting sharpens everything in a subtle way.
Tired of Takeout? 🥡
Get 10 meals you can make faster than delivery arrives. Seriously.
One email. No spam. Unsubscribe anytime.
Instructions
- Prep the pans and oven:
- Set the mood and preheat your oven to 350°F (175°C) while lining and lightly greasing three 8-inch pans with parchment for easy removal later.
- Sift the dry ingredients:
- Whisk together your flour, cocoa, baking soda, baking powder, and salt, watching little clouds of cocoa settle on the kitchen counter (worth it).
- Cream the butter and sugar:
- Mix them until they&rsquore pale and airy&mdashI always listen for that soft slapping sound as it fluffs.
- Add eggs and vanilla:
- Tip in the eggs one at a time, beating on low, then add the vanilla and breathe in that cozy scent.
- Incorporate wet ingredients:
- Pour in buttermilk, rosé, and vinegar and stir gently&mdashdon&rsquot worry if it looks a bit split, it smoothes out once you add the dry ingredients.
- Mix and color:
- Add your dry mix in two or three batches, stopping as soon as you can’t see flour, then swirl in pink food gel until it’s your dream blush.
- Bake the cake:
- Evenly divide batter into the pans and bake for 30–35 minutes, enjoying the gently boozy, floral aroma.
- Cool the cakes:
- Let the cakes cool in their pans for 10 minutes, then turn them out onto wire racks to cool completely before frosting.
- Make the frosting:
- Beat the butter and cream cheese together until luxuriously smooth, then mix in powdered sugar, rosé, vanilla, and salt until fluffy and light.
- Assemble the cake:
- Level the cakes (if needed), then stack with frosting, covering with a crumb coat and chilling before finishing with a final swirl.
- Create the gold drip:
- Melt white chocolate with cream until smooth; cool, then drip carefully around the edges before chilling the cake.
- Paint the gold:
- Mix luster dust and vodka, then gently brush on the chilled drip edges for that gleaming finish.
- Chill and serve:
- Give the cake a half hour in the fridge so the drip sets, then serve to applause (or at least delighted clapping).
 Save to Pinterest
 The first time a guest bit into a slice and paused, eyes wide, murmuring something about "the prettiest cake ever"—I knew this recipe was now a celebration ritual. It wasn’t just about gold flourishes or flawless blush layers, but the laughter, the bright faces, and the stories we layered in between.
Decorating for Occasion-Ready Drama
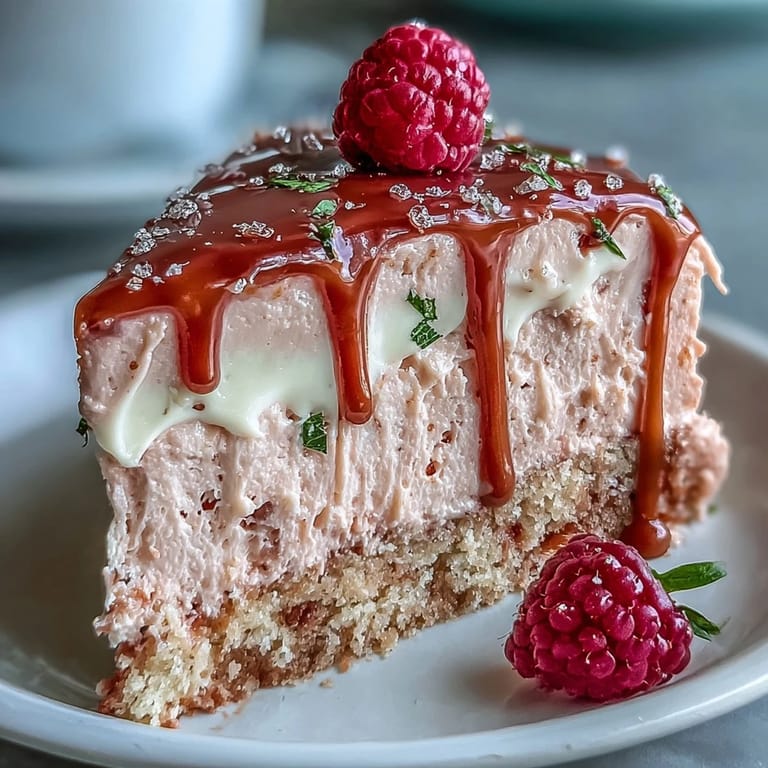
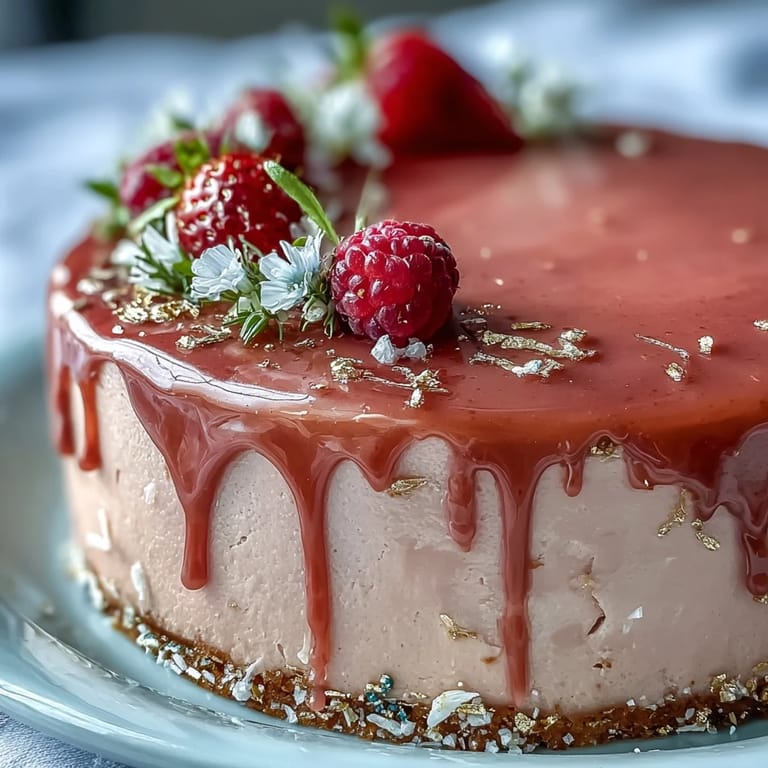
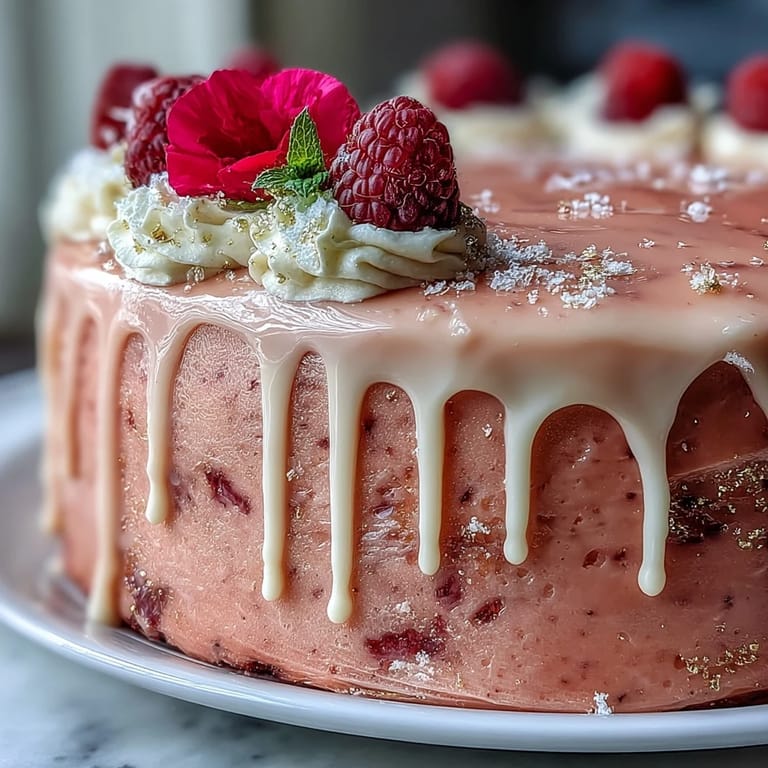
I found that edible flowers—like little violets or rose petals—tucked around the gold shimmer somehow made the whole cake feel more alive. Small berries nestled on top add juicy bursts of color and a comfortable, not-too-perfect elegance. Even the simplest cake gains the magic of the moment with a little flourish and no pressure for perfection. Every gold drip might run a little differently, and that’s its own charm. Extra touches—like a few flecks of gold leaf or a tiny fresh sprig—always get gasps and camera snaps.
Making It Ahead (And How I Learned Not to Rush)
After one frantic morning rush, I vowed to always bake the cake layers the night before and chill them—easier crumb coat, fuller flavor, and no stressing over runaway sprinkles. Letting the frosting chill between coats means silky results and crisp swoops for that photo-ready effect. There’s a real peace in prepping each element at its own pace, even if it means sneaking a taste here and there. Also: making the gold drip just before painting avoids smudges or unexpected melting. This timeline leaves ample room for a celebratory glass of rosé on the side.
Troubleshooting, Triumphs, and Little Luxuries
No bake goes exactly to plan in my kitchen: sometimes a cake layer needs strategic camouflaging with extra flowers or a heavier swoosh of frosting, and honestly, guests only see the beauty. If the drip runs too thin, pop everything in the fridge for ten minutes, then try again—no need for panic. And if any is left the next morning, a cold slice with coffee is pure luxury, maybe even better than at the party.
- Chill every layer before assembling for smooth stacking.
- Keep a damp cloth handy when painting the gold—edible luster dust gets everywhere.
- Don’t worry about perfect drips; the shimmery messier bits are often most admired.
 Save to Pinterest
 Here&rsquos to gold-dusted cakes, big celebrations, and the shared joy of a masterpiece that’s as much memory as dessert. May your kitchen be glittered with luster dust and laughter in equal measure.
Recipe FAQs
- → How can I strengthen the rosé flavor without adding too much liquid?
Brush each cooled layer lightly with a small amount of reserved rosé to boost aroma without thinning the batter or frosting. For a subtler note, stir a teaspoon of rosé into the frosting and taste as you go.
- → What’s the best way to achieve a consistent blush-pink color?
Use a concentrated gel food coloring and add it drop by drop to the batter until you reach the desired shade. Gel gives reliable color without altering batter hydration; mix thoroughly for even tone.
- → How do I get a stable cream cheese frosting for stacking tall layers?
Work with cold-but-softened butter and chilled cream cheese, sift the powdered sugar, and beat until just smooth. Chill the assembled, crumb-coated cake 20–30 minutes before the final frost to firm the filling and make smoother edges.
- → How do I control the gold drip so it doesn’t run too far down the cake?
Cool the white-chocolate ganache until it’s pourable but not hot; test drops on the chilled cake edge and adjust with a little more cream to loosen or cool to thicken. Apply with a spoon or squeeze bottle and work in short bursts.
- → Can I make a non-alcoholic version that keeps the same flavor profile?
Yes. Substitute sparkling grape juice or a concentrated grape reduction for the rosé in both the batter and frosting. Brushing layers with the non-alcoholic liquid preserves the intended scent and moisture.
- → What’s the best way to store and prepare the cake ahead of time?
Assemble and chill the cake up to one day ahead; store covered in the refrigerator to protect the gold finish. For longer storage, keep layers and frosting separately and assemble the day before serving. Bring chilled cake to serveable temperature before plating.