 Save to Pinterest
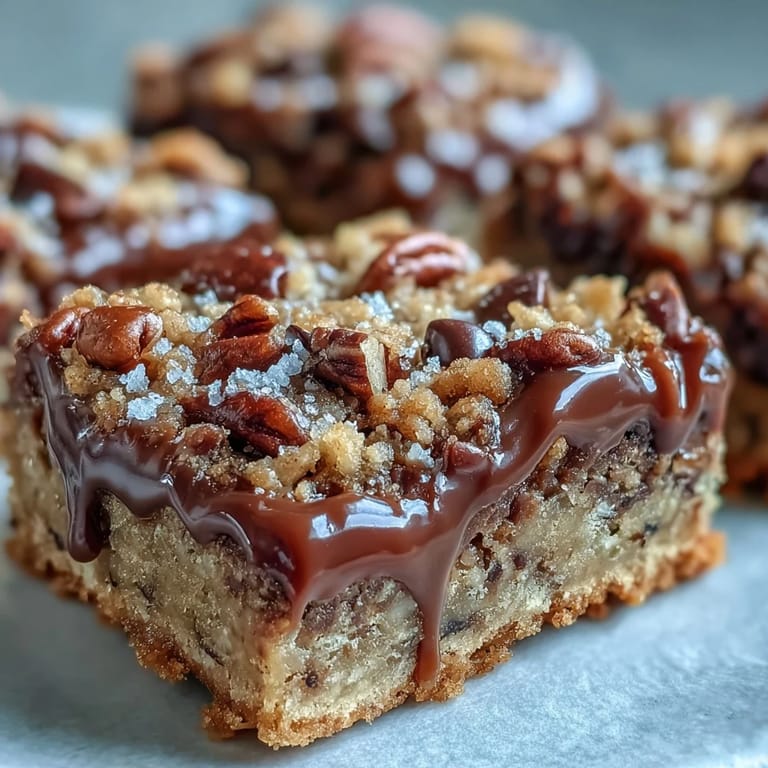
 My cousin brought a pan of these to a potluck, and I stood by the dessert table longer than I care to admit. The way the caramel clung to the pecans, how the chocolate had set just enough to stay glossy but not hard, it was impossible to walk away after one square. I asked her for the recipe that night, and she laughed because she'd only made them once before herself. Now they're my go-to whenever I need something that looks impressive but doesn't require pastry school skills.
I made these for my neighbor after she helped me move furniture, and she texted me two hours later asking if I'd used store-bought caramel or made it from scratch. When I told her store-bought, she seemed relieved, like she'd been worried the recipe was out of her reach. The next week she brought me a batch she'd made herself, and we ended up trading pans back and forth for a month. It became our unofficial currency for favors, which made home repair season a lot sweeter.
Ingredients
- All-purpose flour: Forms the base structure of the crust and holds the oats together without making the bars cakey.
- Rolled oats: Old-fashioned oats work best here because they keep their texture and don't turn mushy when baked with caramel.
- Brown sugar: Adds moisture and a slight molasses note that complements the caramel without overpowering it.
- Granulated sugar: Balances the brown sugar and helps the crumb topping crisp up in the oven.
- Unsalted butter, melted: Melted butter makes the crumb mixture easier to press and creates pockets of richness throughout.
- Salt: Just enough to keep the sweetness in check and make the caramel taste more complex.
- Baking soda: Gives the crust a slight lift and helps the topping brown evenly.
- Semi-sweet chocolate chips: They melt into soft pools but hold their shape just enough to give you distinct chocolate moments in every bite.
- Chopped pecans: Toasting them first isn't required, but if you have an extra five minutes, it makes their flavor deeper and more noticeable.
- Caramel sauce: Store-bought works beautifully, and mixing it with cream makes it pourable and keeps it from hardening too much as it cools.
- Heavy cream: Loosens the caramel and adds a silky texture that soaks into the oats without making them soggy.
Tired of Takeout? 🥡
Get 10 meals you can make faster than delivery arrives. Seriously.
One email. No spam. Unsubscribe anytime.
Instructions
- Prep the Pan:
- Preheat your oven to 350°F and grease a 9x9-inch pan generously, or line it with parchment paper so the bars lift out easily later. I always let the paper hang over the edges like little handles.
- Make the Crumb Base:
- In a large bowl, mix the flour, oats, both sugars, melted butter, salt, and baking soda until it looks like wet sand and clumps when you squeeze it. Set aside one cup of this mixture in a small bowl for the topping, then press the rest firmly into the bottom of your pan so there are no gaps.
- Bake the Crust:
- Slide the pan into the oven for 10 minutes, just until the edges start to turn golden. You want it set but not fully baked, because it's going back in later.
- Warm the Caramel:
- While the crust bakes, pour your caramel sauce and heavy cream into a small saucepan over medium-low heat. Stir constantly until smooth and combined, then take it off the heat so it doesn't thicken too much.
- Layer the Fillings:
- Pull the crust out of the oven and immediately sprinkle the chocolate chips evenly over the surface, then scatter the chopped pecans on top. Pour the warm caramel over everything, letting it pool into the corners and cover the chocolate.
- Add the Topping:
- Sprinkle that reserved cup of crumb mixture over the caramel layer, spreading it as evenly as you can without pressing down. It's okay if some caramel peeks through.
- Finish Baking:
- Return the pan to the oven and bake for 15 to 20 minutes, until the topping turns golden brown and smells nutty. The caramel will bubble up around the edges, which is exactly what you want.
- Cool Completely:
- Set the pan on a wire rack and let it cool fully before cutting, at least 30 minutes. If you cut them warm, the caramel will slide everywhere and you'll end up with a delicious mess instead of clean squares.
 Save to Pinterest
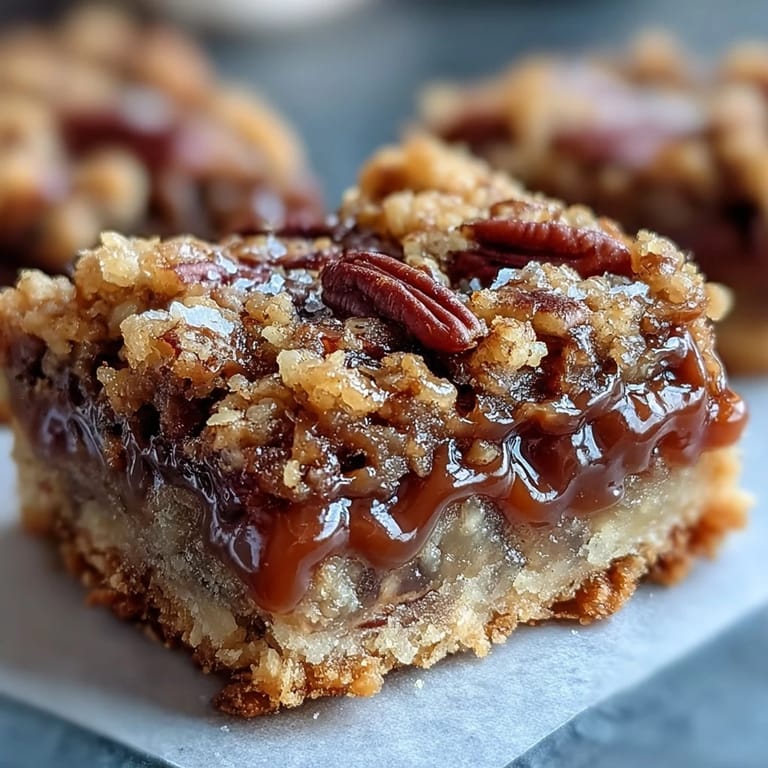
 I brought a pan of these to a work potluck, and someone asked if I'd ordered them from a bakery. I didn't correct her right away because it felt good to let her think I had that kind of budget for a Tuesday lunch. When I finally admitted I'd made them, three people asked for the recipe on the spot, and I realized that sometimes the best compliment isn't about the recipe itself but about how it made people feel fancy without any fuss.
How to Store and Serve Them
These bars keep beautifully in an airtight container at room temperature for up to a week, though I've never had a batch last that long. If you stack them, put a sheet of parchment paper between layers so the caramel doesn't stick. On hot days, I sometimes store them in the fridge because the chocolate sets firmer and they're easier to eat without getting caramel all over your fingers. Let them sit out for ten minutes before serving if you've chilled them, so the caramel softens just enough to be chewy again instead of hard.
Swaps and Variations Worth Trying
Walnuts or almonds work just as well as pecans, and I've even used cashews when that's all I had on hand. For a salted caramel version, sprinkle flaky sea salt over the caramel layer before adding the crumb topping, it cuts the sweetness and makes each bite more interesting. Dark chocolate chips instead of semi-sweet give the bars a more grown-up flavor, and if you want extra decadence, drizzle melted chocolate over the cooled bars in zigzag lines. My sister once added a handful of toffee bits to the filling, and I haven't stopped thinking about it since.
What to Do If Things Go Wrong
If your caramel hardens too quickly, just pop it back on the stove with a splash of cream and stir until it loosens up again. Crumbly bars usually mean the crust wasn't pressed firmly enough or the butter wasn't fully incorporated, so next time make sure the mixture holds together when you squeeze it. If the topping browns too fast, tent the pan loosely with foil for the last five minutes of baking.
- Cut the bars with a sharp knife wiped clean between each slice for the neatest edges.
- Warm the knife under hot water and dry it if the caramel keeps sticking to the blade.
- Store any leftovers in a single layer if possible, because stacking them warm makes everything meld together.
 Save to Pinterest
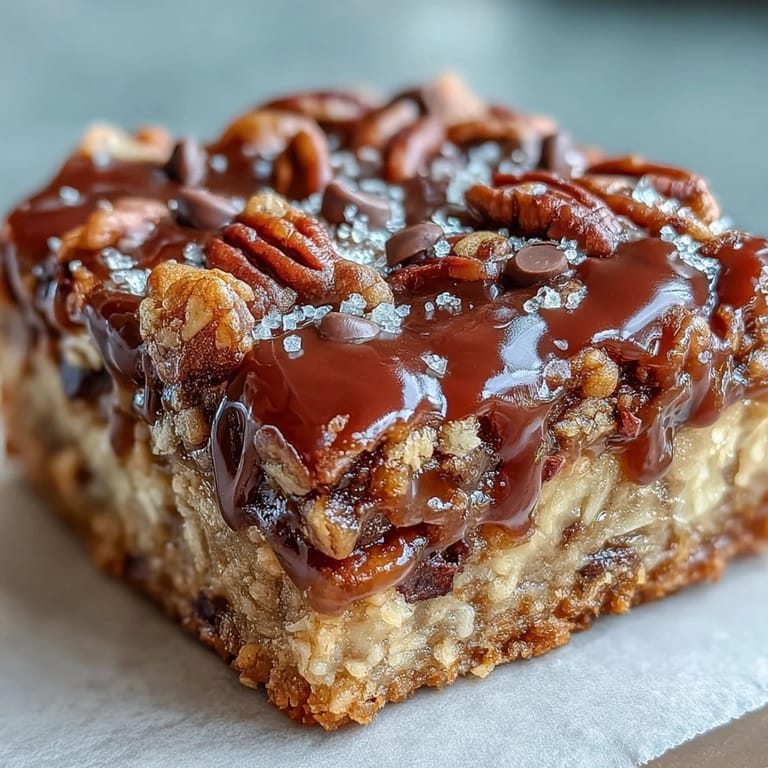
 These bars have become my answer to almost every occasion, whether it's a thank-you gift or just a Wednesday that needs something sweet. They remind me that impressive doesn't have to mean complicated, and that sometimes the best recipes are the ones people ask for twice.
Recipe FAQs
- → Can I make the caramel sauce from scratch?
Yes, homemade caramel works beautifully. Melt 1 cup sugar with 6 tablespoons butter and 1/2 cup heavy cream over medium heat, stirring constantly until smooth. Let it cool slightly before pouring over the chocolate layer.
- → How do I know when the bars are fully baked?
The topping should turn golden brown and you might see some caramel bubbling through the crumb layer. The center will still feel slightly soft but will set as it cools.
- → Can I substitute different nuts?
Walnuts or almonds work well as alternatives. Keep the chop size similar to maintain even distribution and consistent texture throughout the bars.
- → Why must the crust cool slightly before adding fillings?
A warm crust helps the chocolate chips soften and melt slightly, creating better cohesion with the caramel layer. However, let the bars cool completely before cutting to prevent the layers from sliding apart.
- → How should I store these bars?
Keep them in an airtight container at room temperature for up to one week. For longer storage, refrigerate for up to two weeks, though the texture may become slightly firmer.
- → Can I freeze these turtle bars?
Yes, wrap individual squares in plastic wrap and place in a freezer-safe container. They'll keep for up to three months. Thaw at room temperature for about an hour before serving.