 Save to Pinterest
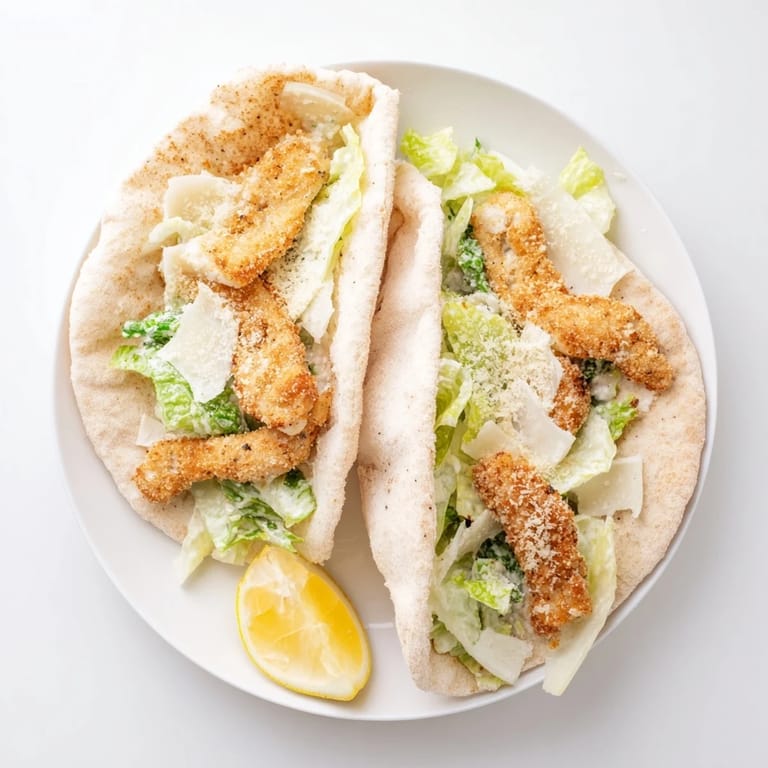
 The smell of garlic and herbs hitting hot panko breadcrumbs still makes my stomach growl, even after making this recipe countless times. I stumbled on the pita pocket concept one Tuesday when my regular sandwich bread went stale, and honestly it was a happy accident that changed lunch forever. Theres something satisfying about tucking warm, crispy chicken into a soft pita with cool, crisp lettuce.
My youngest son declared these better than restaurant chicken after his first bite, and now he requests them weekly. I love how the warm pita cradles everything together, making it feel like a proper handheld meal instead of a deconstructed salad.
Ingredients
- Chicken breasts: Slice them horizontally yourself for thinner cutlets that cook evenly and stay juicy
- Panko breadcrumbs: These Japanese breadcrumbs create a lighter, crunchier coating than regular breadcrumbs
- Grated Parmesan: Adds savory depth to the crust and helps it brown beautifully
- Fresh parsley and dried herbs: The combination gives you bright, garden fresh flavor with convenience
- Romaine lettuce: Sturdy enough to hold up against warm chicken without wilting immediately
- Caesar dressing: Homemade or store bought, make sure its creamy and well seasoned
- Pita breads: Large pocket style pitas work best for stuffing all the components inside
Tired of Takeout? 🥡
Get 10 meals you can make faster than delivery arrives. Seriously.
One email. No spam. Unsubscribe anytime.
Instructions
- Prep the chicken cutlets:
- Place each chicken breast between plastic wrap and pound gently to even thickness, then slice horizontally through the middle to create four thin cutlets total
- Set up your breading station:
- Arrange three shallow bowls with flour in the first, whisked eggs and milk in the second, and panko mixed with Parmesan and all herbs in the third
- Bread each cutlet:
- Dredge chicken in flour, shake off excess, dip in egg mixture, then press firmly into panko mixture to coat completely
- Cook to golden perfection:
- Heat olive oil in a large skillet over medium heat and cook chicken for 3 to 4 minutes per side until deeply golden and cooked through
- Warm the pitas:
- Toss pita breads in a dry skillet for 1 to 2 minutes, turning once, until pliable and slightly warm
- Assemble the Caesar filling:
- Toss romaine lettuce with Caesar dressing and shaved Parmesan in a large bowl until evenly coated
- Build your pockets:
- Slice chicken into strips, cut pitas in half, then fill each pocket with dressed Caesar salad and tuck in chicken strips
 Save to Pinterest
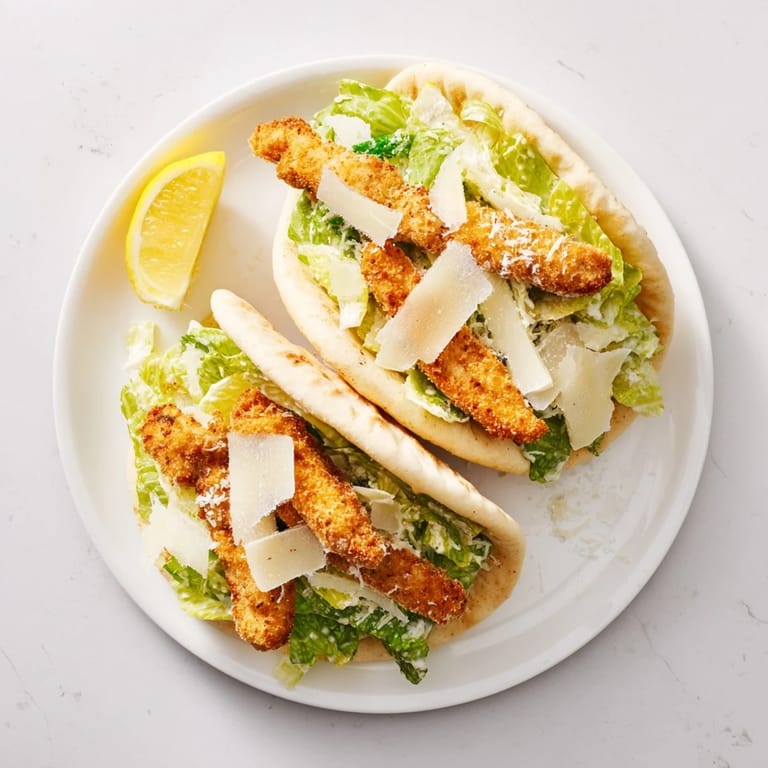
 These have become our Friday night ritual while watching movies, everyone gathered around with napkins ready and lemon wedges on the side.
Making It Your Own
Sometimes I swap in grilled chicken strips when I want something lighter, and the pita pocket format still works beautifully. You can also add sliced avocado or crispy bacon for extra richness.
Perfect Caesar Every Time
Homemade Caesar dressing is worth the extra ten minutes, with garlic, anchovy paste, lemon juice, and plenty of Parmesan whisked into mayonnaise. Store bought works perfectly fine though.
Serving Suggestions
These pitas are substantial enough to stand alone as a complete meal, but extra lemon wedges brighten everything up. Serve with some simple cucumber slices on the side.
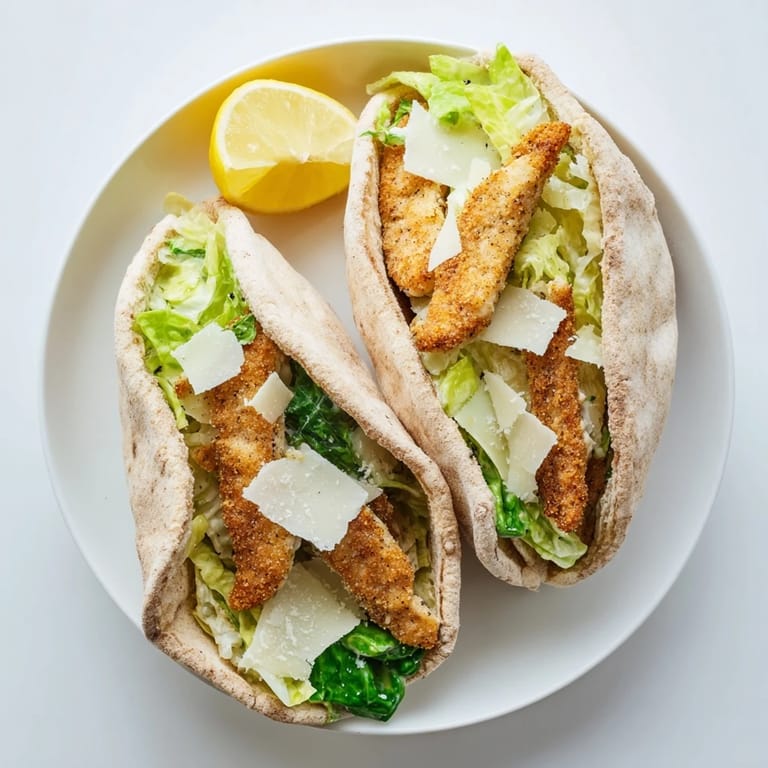
- Whole wheat pitas add extra fiber and nutty flavor
- Cherry tomatoes add bursts of sweetness and color
- Extra Parmesan on top never hurts anyone
 Save to Pinterest
 Hope these become a regular rotation in your kitchen too, just as they have in ours.
Recipe FAQs
- → How do I get the chicken coating extra crispy?
Press the panko mixture firmly onto the chicken cutlets to ensure even coverage. Make sure your skillet is properly heated before adding the oil—medium heat creates the perfect golden crust without burning. Avoid overcrowding the pan, which can make the coating soggy.
- → Can I prepare these pitas ahead of time?
You can bread the chicken cutlets and store them in the refrigerator up to 4 hours before cooking. The Caesar salad can be tossed together just before serving to prevent wilting. For best results, assemble the pitas immediately after cooking while the chicken is still crispy.
- → What works well as a side dish?
These pitas are quite filling on their own, but you could serve them with roasted vegetables, a light soup, or extra Caesar salad on the side. Fruit salad also makes a refreshing contrast to the rich, savory flavors.
- → How do I prevent the pitas from tearing when filling?
Warm the pitas gently in a dry skillet or oven for 1–2 minutes before assembling. This makes them more pliable and less likely to split. Don't overstuff the pockets—layer the salad first, then add chicken strips on top.
- → Can I bake the chicken instead of frying?
Yes, arrange the breaded cutlets on a baking sheet lined with parchment paper. Bake at 400°F for 15–20 minutes, flipping halfway through, until golden and cooked through. The coating will be lighter than pan-fried but still delicious.
- → What's the best way to reheat leftovers?
Reheat the chicken strips in a 350°F oven or air fryer for 5–8 minutes to restore crispiness. The pitas are best enjoyed freshly assembled, but you can store components separately and reheat as needed. Avoid microwaving, which makes the coating soggy.